DIY Clothing Alterations: Tailor Your Own Clothes & Save Big
DIY clothing alterations offer a budget-friendly way to tailor your existing wardrobe, allowing you to achieve a perfect fit, refresh your style, and save approximately $25 per garment compared to professional tailoring services.
Want to give your wardrobe a makeover without breaking the bank? DIY clothing alterations are the answer. Not only will you achieve a perfect fit, but you’ll also save money and learn a valuable skill.
Why DIY Clothing Alterations Are a Money-Saving Must
Altering your own clothes might seem daunting at first, but it’s a skill that can significantly impact your budget. Instead of discarding ill-fitting garments or spending money on new ones, mastering basic DIY clothing alterations allows you to customize your existing wardrobe and breathe new life into old favorites.
Beyond the financial benefits, DIY alterations promote sustainability by extending the life of your clothes and reducing textile waste. Let’s dive into why this skill is a must-have for any savvy saver.
Cost Savings Compared to Professional Tailoring
Professional tailoring can be expensive, with even simple alterations like hemming pants or adjusting a waistline costing a significant amount. By learning to do these alterations yourself, you can save a substantial amount of money over time.
Extending the Life of Your Clothes
Clothes that fit well are more likely to be worn and cared for. DIY alterations allow you to repair and modify garments, preventing them from ending up in the landfill prematurely. This reduces your environmental impact and saves you money on replacements.
By embracing DIY clothing alterations, individuals can curate a personalized, sustainable, and perfectly-fitting wardrobe, all while keeping their wallets happy.
Essential Tools and Equipment for DIY Alterations
Before you start altering your clothes, it’s important to have some basic tools and equipment on hand. Having the right tools can make the process easier, more efficient, and less frustrating. Many of these items are inexpensive and can be found at your local craft store or online.
Let’s take a look at the essential tools you’ll need to get started with DIY clothing alterations.
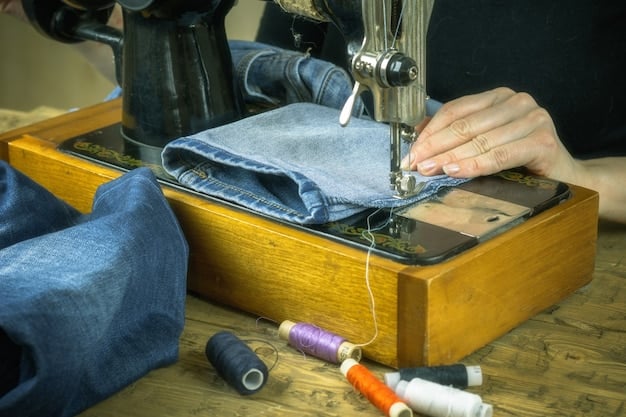
- Sewing Machine: A sewing machine is a valuable tool for many alterations, but not entirely nessecerry, especially for larger projects.
- Hand Sewing Needles: A variety of sizes are essential for different fabric types and tasks.
- Thread: Choose thread that matches the color and weight of your fabric.
- Measuring Tape: Accurate measurements are crucial for successful alterations.
- Scissors: Sharp fabric siscors for cutting fabric cleanly.
Investing in these essential tools will set you up for success in your DIY clothing alteration journey. With the right equipment, you’ll be able to tackle a wide range of projects and customize your wardrobe to perfection.
Simple Alterations You Can Do at Home to Save Money
One of the best parts about DIY clothing alterations is that you don’t need to be a professional tailor to make a big difference in your wardrobe. There are many simple alterations that you can easily do at home, even if you have limited sewing experience. These alterations can help you improve the fit of your clothes, update their style, and save money on professional tailoring services.
Here are a few simple alterations you can try.
Hemming Pants and Skirts
Hemming pants and skirts is one of the most common and straightforward alterations. If your pants are too long or your skirt is the wrong length, you can easily adjust the hem to create a more flattering silhouette.
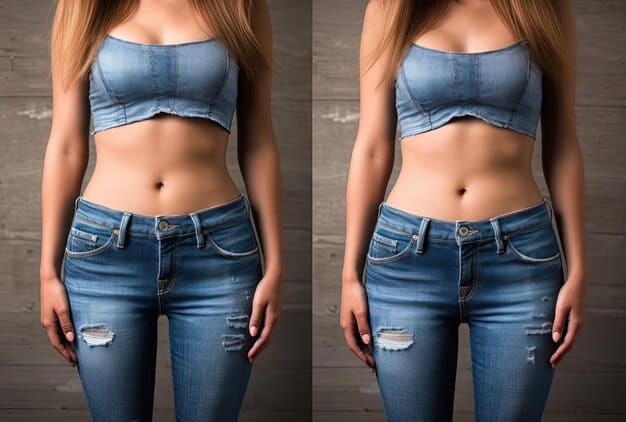
Taking in a Waistline
If your pants or skirt are too loose around the waist, you can take them in for a better fit. This alteration involves removing excess fabric from the side seams to create a snugger fit.
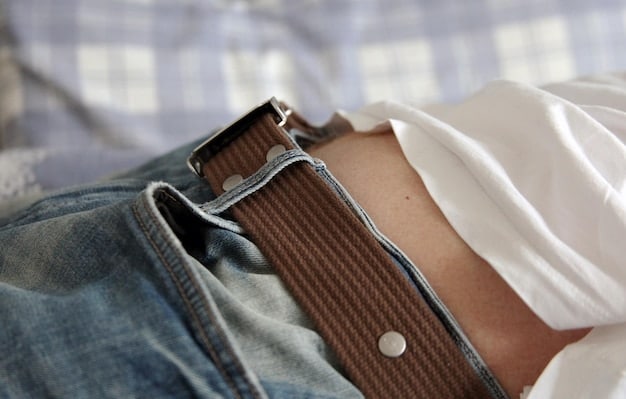
Replacing Buttons and Zippers
Replacing broken buttons and zippers can breathe new life into older items. If a garment is ruined by a zipper, consider simply removing fabric and constructing a button and button holes!
Mastering these simple alterations can make a big difference in your wardrobe and save you money on professional tailoring services.
Advanced Alterations for the Confident DIYer
Once you’ve mastered the basics of DIY clothing alterations, you might be ready to tackle more advanced projects. These alterations require a bit more skill and experience, but they can help you transform your wardrobe and create truly unique pieces.
If you’re feeling confident in your sewing abilities, here are a few advanced alterations you can try.
- Adding Darts for a More Fitted Look: Darts are a creative way to bring definition to your clothing.
- Resizing Garments for a Perfect Fit: Resizing is perfect for hand-me-downs, or to breathe new life into old items.
- Restyling Clothes to Update Their Look: With access to the internet, the only limit is your creativity!
These advanced alterations can take your DIY skills to the next level and help you create a truly customized wardrobe. Be sure to take your time, practice on scrap fabric, and don’t be afraid to experiment.
Tips for Successful DIY Clothing Alterations
DIY clothing alterations can be a rewarding and money-saving hobby, but it’s important to approach each project with care and attention to detail. To ensure successful alterations, there are a few key tips to keep in mind. These tips will help you avoid common mistakes, achieve professional-looking results, and save money in the long run.
Here are some tips for successful DIY clothing alterations.
Accurate Measurements are Key
Before you start any alteration, take accurate measurements of your body and the garment you’re altering. Use a flexible measuring tape and record the measurements in a notebook or on a piece of paper. Be sure to measure the bust, waist, hips, and inseam, as well as any other relevant areas.
Choose the Right Fabric and Thread
When altering clothing, it’s important to choose the right fabric and thread for the job. If you’re adding fabric to a garment, be sure to select a fabric that is similar in weight, texture, and color to the original fabric. Choose thread that matches the color and weight of your fabric.
Practice on Scrap Fabric First
Before you start altering your garment, practice your sewing techniques on a piece of scrap fabric. This will help you get a feel for the fabric, thread, and sewing machine settings. It will also give you a chance to make any necessary adjustments before you start working on your actual garment.
By following these tips, you can avoid common mistakes, achieve professional-looking results, and save money on professional tailoring services.
Maintaining Your Altered Clothes
Once you’ve put in the effort to alter your clothes, it’s important to take care of them properly to ensure they last as long as possible. Proper maintenance can help prevent damage, maintain the fit, and keep your clothes looking their best.
Here are some tips for maintaining your altered clothes.
- Follow Care Label Instructions: Always use a gentle cycle and cold water to preserve the fabric and stitching.
- Store Clothes Properly: Fold or hang clothes neatly to prevent wrinkles and stretching.
- Repair Damages Promptly: Mend any rips, tears, or loose seams immediately to prevent them from getting worse.
By following these maintenance tips, you can extend the life of your altered clothes and keep them looking their best for years to come.
| Key Point | Brief Description |
|---|---|
| 🧵 Essential Tools | Sewing machines, hand needles, and measuring tapes are key for DIY alterations. |
| 👖 Simple Alterations | Hemming, waist adjustments, button/zipper replacements are easy DIY options. |
| 🧷 Advanced Alterations | Adding darts, resizing, and restyling boost DIY abilities. |
| 📏 Measurement Tips | Accurate measurements, and correct fabric choices make quality garments. |
Frequently Asked Questions
▼
You’ll need a sewing machine, hand sewing needles, thread, measuring tape, scissors, seam ripper, pins, and an iron. A tailor’s chalk or fabric marker is helpful for marking alterations.
▼
You can save around $25 per garment by doing the alterations yourself. This depends on the type of alteration and the prices charged in your area.
▼
Beginners can start with simple tasks like hemming pants or skirts, replacing buttons, or fixing small tears. These alterations require basic sewing skills and can be learned quickly.
▼
Choose a thread color that closely matches the fabric you’re altering. It’s always a good idea to test the thread on a scrap piece of fabric to ensure the color blends well.
▼
If you’re unsure, practice on a similar fabric first. For valuable items, consider consulting a tailor. Also, always be sure to seam rip every seam slowly to not damage any fibers.
Conclusion
Embarking on DIY clothing alterations is not only a savvy way to save money but also a rewarding journey into sustainable fashion. By mastering a few basic techniques and investing in essential tools, you can transform your wardrobe, extend the life of your clothes, and express your unique style.


